E-ASET is an application used to manage inventory data, including Goods Receipt, Goods Distribution, Goods Request, and Goods Return. E-ASET allows us to track products or items based on goods transactions or transaction types. E-ASET can also be used to print each transaction and assist in replacing damaged goods stock.
Our system allows you to track inventory items throughout the product lifecycle, from purchasing and receiving to transferring and selling.
MULTI LOCATIONS
You can quickly see the quantities on hand, sold, received, ordered, and in transit for each item at all your company locations.
PRODUCT BUNDLING
When an item is sold, our system will automatically reduce the inventory for each SKU.
GOODS INVENTORY
Quickly generate and complete full or partial stock takes.
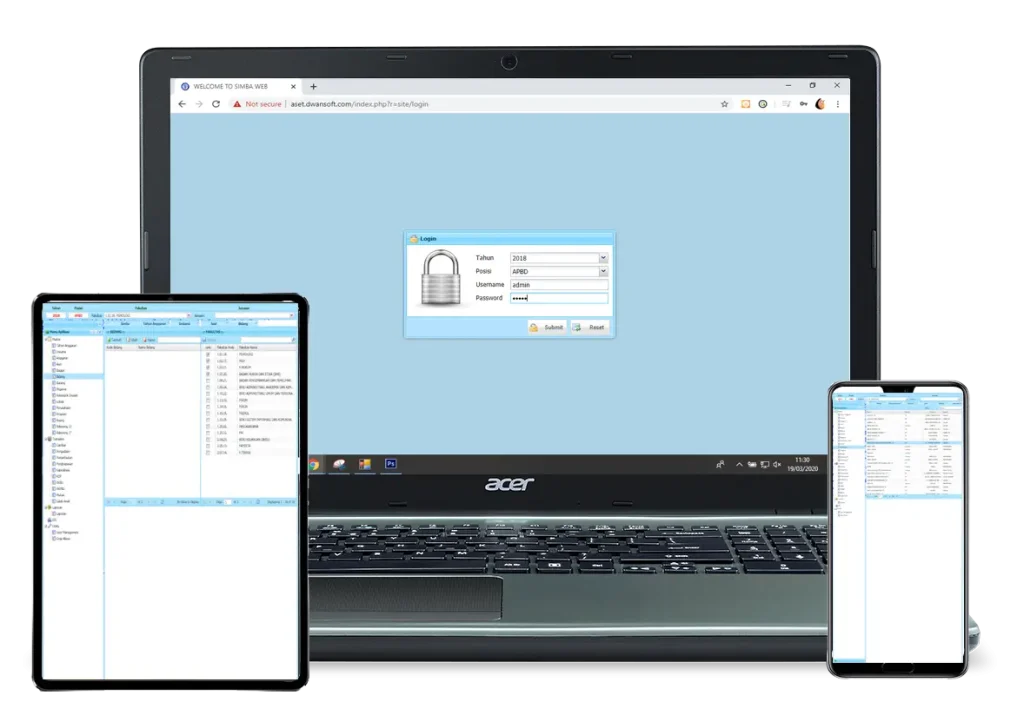
Cloud-Based E-ASET Application With the Most Complete Features
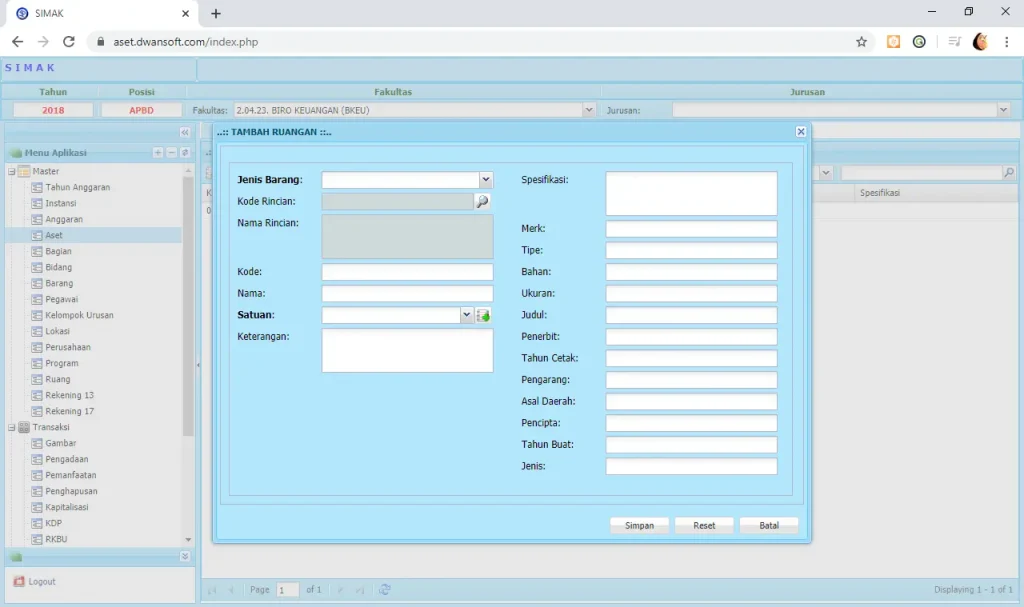
Aset
The asset feature helps you to manage all assets registered in the application. An agency must have a lot of assets or inventory so this asset feature is needed to manage them. Steps: 1. Login with username and password according to the information on “Application Demo” 2. Select Faculty at the top 3. Choose Asset menu 4. Click the “Add” button 5. Fill in the data of the agency’s assets/inventory 6. When finished click the “Save” button
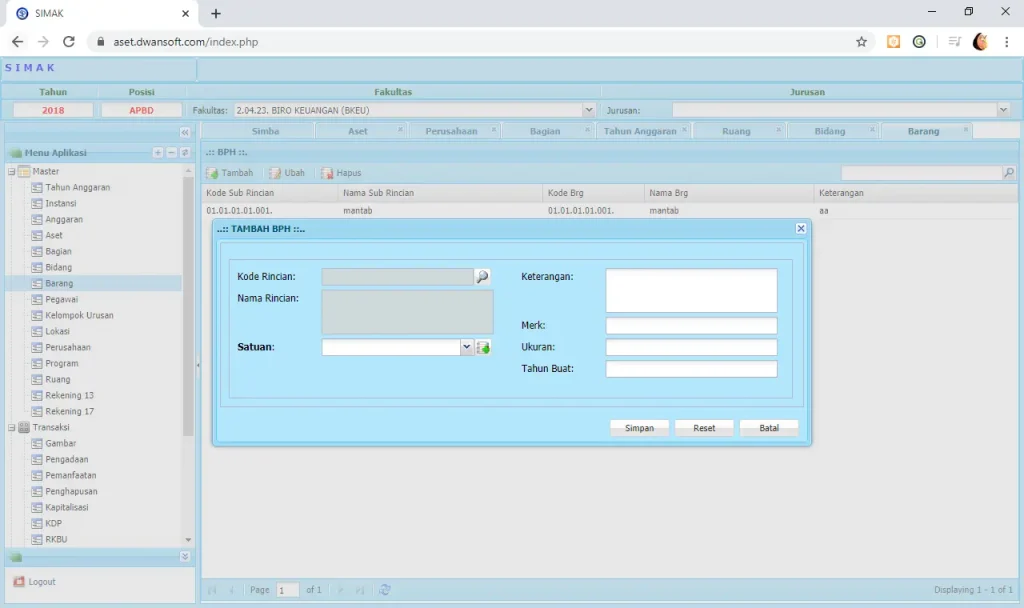
Items
The items feature helps you to input and manage all items accurately. In order to keep items recorded and not cluttered Steps: 1. Select the Goods menu 2. Click the “Add” button 3. Fill in the item data 4. When finished click the “Save” button
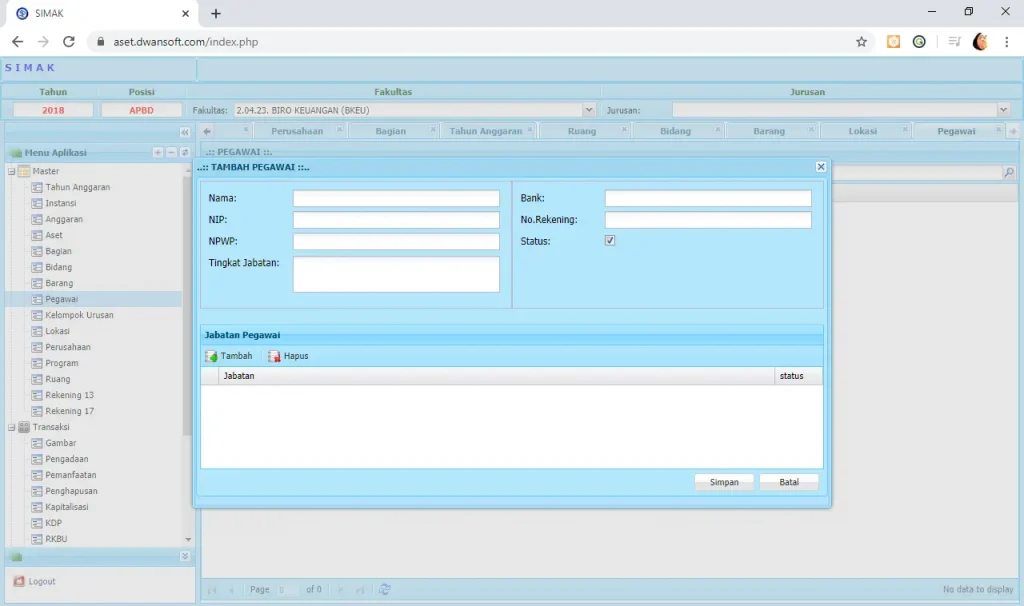
Employee
The employee feature helps you to manage all registered employees with accurate data. So you can control a lot of employee data in your agency. Steps: 1. After login, click Master –> Employee 2. Click the “Add” button 3. Fill in the requested employee data 4. Click the “Save” button.
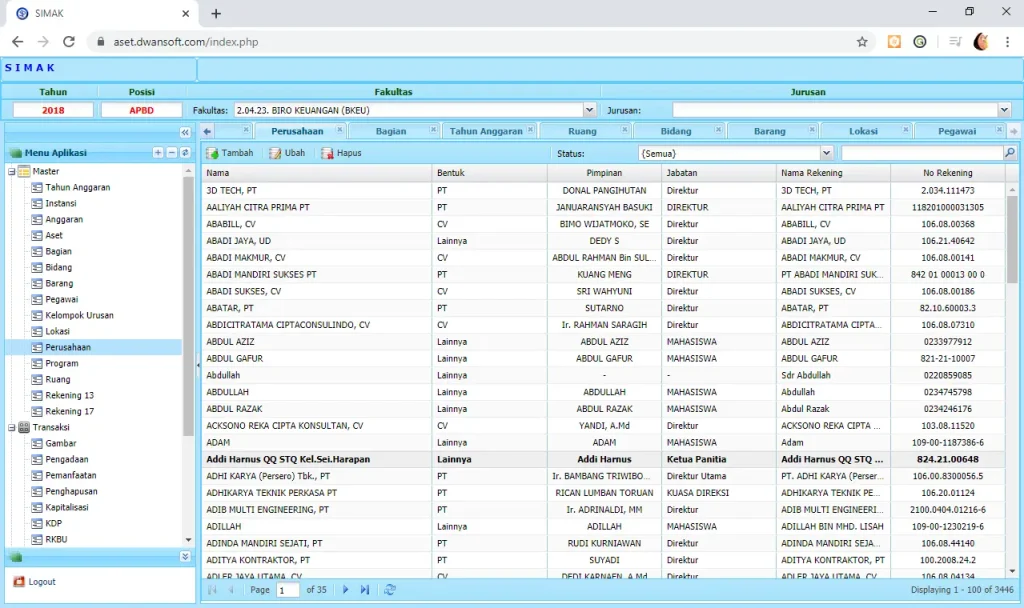
Company
This application is equipped with a report feature to display a report of each transaction within a certain time scale. Steps: 1. Select Reports Menu –> Reports 2. Select the type of report and report period to be displayed/printed 3. Click the “PDF” or “Excel” button to display or print the report 4.
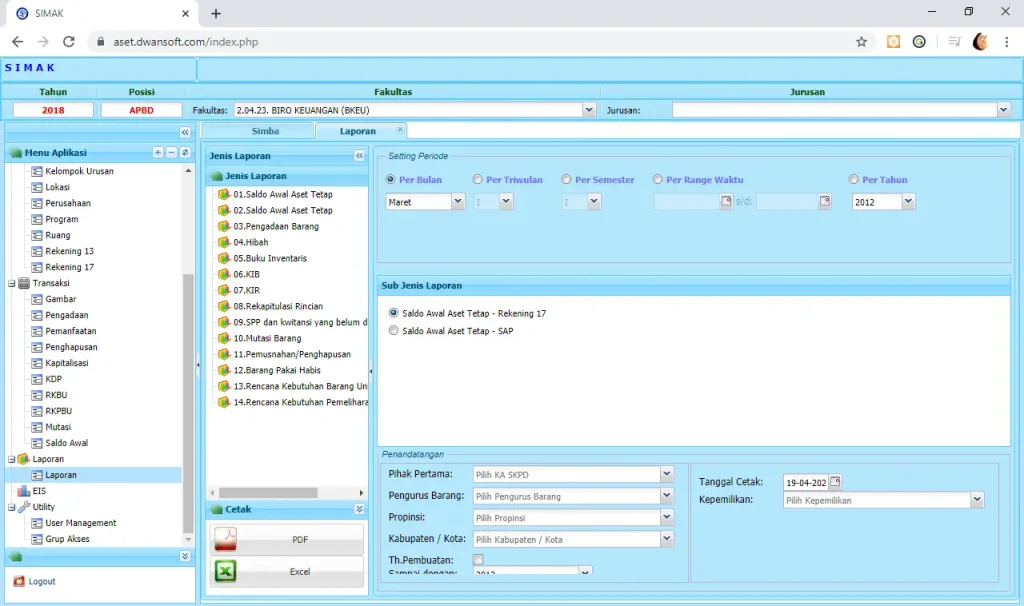
Report
This application is equipped with a report feature to display a report of each transaction within a certain time scale. Steps: 1. Select Reports Menu –> Reports 2. Select the type of report and report period to be displayed/printed 3. Click the “PDF” or “Excel” button to display or print the report 4.
Utility
This application is equipped with utility features that can be managed by more than one admin registered in User Management. Steps: 1. To add a new admin, click Utility –> User Management 2. Click the “Add” button 3. Fill in the requested data 4. When finished, click the “Save” button
Ready to Bring Your App Idea to Life?
Get in touch with the Dwansoft team and start your digital journey with us.